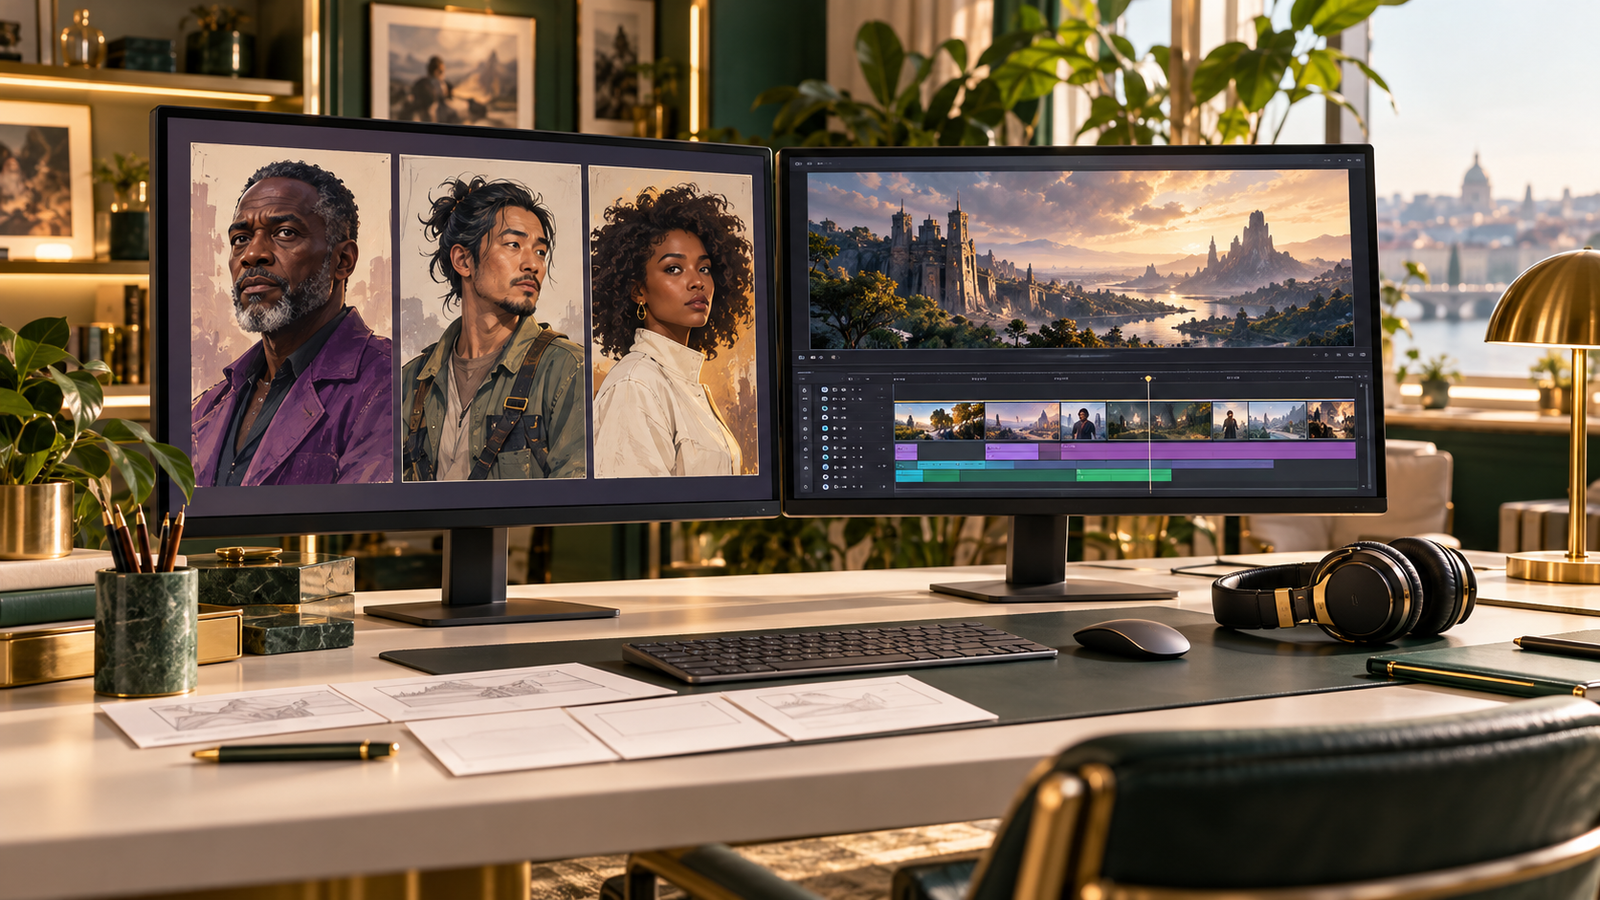
This week I launched new video ads for my AI marketing workbooks and Creator Studio. Each one is 20 seconds long, and each one was made in a single afternoon with AI tools, under my direction. Here’s exactly how I did it.
I’ve produced video campaigns the traditional way for years: scripts, storyboards, shoots, edits. AI didn’t change what makes a good ad. It changed how fast I can get there. But only because I followed the same production discipline I always have.
Step 1: Script First, Always
Every ad started on paper. Twenty seconds is about 50 to 55 spoken words, so every word has to earn its place. Each script had the same shape: a hook that names the viewer’s problem, the offer in one sentence, one clear benefit, and a call to action.
Copy this prompt: Write a 20-second video ad script (about 50 spoken words) for [your offer] aimed at [your customer]. Start with a 3-second hook that names their problem, give the offer in one sentence, add one benefit, and end with a clear call to action: [action]. Write it to be spoken out loud: short sentences, natural rhythm.
Step 2: Approve a Still Image Before Anything Moves
This is the step that saved me hours. Instead of asking an AI video tool to invent the whole scene and hoping for the best, I created and approved a still image for each scene first: the wardrobe, the room, the lighting, the props. Only when the still looked exactly right did I animate it.
Why it matters: video generations take longer and cost more than images. If you lock the look in a still first, every animation starts from the right place, and you stop burning credits on re-rolls.
Step 3: Use Your Real Product, Not an AI Guess
AI tools love to invent book covers and screens, usually with unreadable text. For my ads, the workbook cover and app screens on screen are the real files, placed into the still before animation. Your customer should see the actual product they’re buying.
Step 4: Animate With Voice and Motion Together
When I animated each still, my prompt described everything: the setting, the wardrobe, what she does every two to three seconds, and the exact words she says. Directing a small movement every few seconds keeps the clip feeling alive instead of frozen.
Step 5: Music Under the Voice
Finally, I created an original song for each ad and set it low under the voice. Music sets the mood, but the message has to stay clear.
What I’d Tell Any Small Business Owner
You don’t need a film crew to make a professional video ad anymore. You do need a plan. Script first, approve the look, use your real product, and direct every detail. AI follows direction. The clearer yours is, the better the result.
Make It in Creator Studio
Creator Studio is my AI marketing studio for small business. Describe your business once, then create social posts, emails, blog posts and on-brand images whenever you need them.
An AI film begins with decisions long before it begins moving. Someone has to determine who the character is, what the story needs to communicate, how the voice should feel, and what the viewer should understand at the end. Those decisions are the foundation of production.
My work on BUILDERS of the XPR Network brought those responsibilities together across nine character archetypes, original songs, and cinematic films. Building that world meant developing identities, writing scripts, planning scenes, directing generated material, checking continuity, and assembling the finished work.
The experience also made one lesson very clear: an impressive clip is not automatically a coherent film. A scene can look beautiful on its own and still create a problem when it meets the next scene. A small change in a face, costume, screen, or walking direction can interrupt the story.
Here is how I approach directing AI-assisted film as a complete creative process, from the character brief to the final cut.
Begin With What the Film Needs to Communicate
Before choosing a cinematic style, decide the job of the film. Is it an introduction, a product explanation, a campaign story, an educational piece, or a character-led narrative? The answer determines what viewers need to see and how much context they need.
For a personal marketing film, I want people to understand the relationship between leadership and execution. It needs to show that I can develop the direction and make the work. That is a different assignment from a cinematic character film intended to introduce a creative world.
Write the audience and primary message in the production brief. Then identify the action or impression the ending should support. This prevents the film from becoming a collection of visual moments that never add up to a clear purpose.
Keep that purpose available during editing. When deciding whether to retain a scene, ask what it contributes. A technically impressive moment may still be unnecessary if it repeats information or pulls attention away from the main message.
Give Each Character a Distinct Identity
A character needs more than a name and an attractive portrait. Define the role, personality, appearance, wardrobe, distinguishing details, and relationship to the story. The audience should be able to recognize the character across different environments and camera angles.
For a connected world, the characters also need distinction from one another. Similar lighting and branding can create unity, while different silhouettes, expressions, settings, and visual details establish individual identities. Consistency should not turn every person into a duplicate.
Voice belongs in the identity brief as well. Decide whether the delivery is measured, energetic, reflective, welcoming, or direct. Specify pronunciation for unfamiliar names. A character’s visual maturity and spoken delivery should feel compatible.
Save the approved identity information in one place. When producing later scenes, use it as a reference rather than relying on memory. Small improvisations across many generations can accumulate into a character who no longer looks or sounds like the original.
Build a Reference System That Has Clear Roles
Separate the materials used for identity, environment, branding, and scene composition. An approved face reference answers a different question from a studio reference or an example of cinematic lighting. Labeling those roles helps make production direction more precise.
For each file, record what must be preserved. A character image might control the face and hair. A wardrobe reference might control the jacket and accessories. An official logo file should remain an exact supplied asset, not become an invitation to invent a similar symbol.
Keep the reference set manageable. Too many competing images can make it difficult to determine which one takes priority. Choose the materials needed for the current shot and explain their relationship.
When exact preservation is essential, plan an editing or compositing step. Generating a room and manually placing approved artwork can be more dependable than asking a model to reproduce every detail inside the room. The production method should reflect the accuracy the project requires.
Write Dialogue for a Speaking Person
Read the script aloud before generating. A sentence that looks concise on the page can be awkward to speak. Long lists, dense phrasing, and repeated introductory clauses can make a short film feel slow or crowded.
Give each sentence a purpose. One line can establish the problem, another can explain the approach, and another can connect the work to the viewer. Avoid spending the opening on information that does not help the audience understand why they should keep watching.
Time the actual delivery rather than assuming a fixed word count guarantees a particular duration. Pronunciation, pauses, emphasis, and the selected voice all affect the result. Leave room for the opening word to be heard and for the final phrase to finish naturally.
Decide whether the speaker addresses the camera or the dialogue is narration. Those are different directing choices. If the presenter needs to connect directly with viewers throughout, the prompt should not silently switch to a closed-mouth performance halfway through the scene.
Turn the Script Into Observable Scenes
A storyboard should explain what appears on screen, what changes, and how the scene ends. “She works at a computer” leaves many decisions unresolved. Which workstation? What is on the display? What is she selecting? What should the viewer learn from that action?
Describe the scene in observable terms. For example, a character may compare two approved frames, pause the preview, and adjust a lighting control. The screen content should relate to the production task rather than function as random decoration.
Also define the camera’s role. A medium shot can establish the presenter. An over-the-shoulder angle can make the work visible. A close-up may reveal a review decision. Every camera change should help the viewer understand the story.
Do not overload a short clip with more actions than it can perform naturally. Speaking, walking, drawing, pressing a card, turning, and reaching a workstation can become a complicated chain. Simplifying the action can improve clarity and reduce continuity risks.
Approve the Still Before Animation
The still establishes the starting world: cast, wardrobe, composition, props, environment, and visual balance. Check those elements before spending resources on movement. Animation tends to make an unresolved starting composition more expensive to correct.
Inspect the hands, jewelry, faces, background artwork, and screen placement. If a character must have bare fingers, check both hands. If a workstation requires two displays facing the same direction, confirm that arrangement in the still.
Check whether the composition leaves room for the intended action. A person cannot naturally walk around a desk if the starting image gives no clear route. A camera cannot reveal useful screen content if the scene is arranged only as a frontal portrait.
Once the still is approved, save it with a clear filename and version. Keep the successful reference separate from rejected generations. An approval should reduce uncertainty in the next stage, not become another detail that gets lost among similar files.
Direct Motion Within the Approved World
The animation prompt should preserve the approved scene and define the movement inside it. It should not casually reconstruct the room, replace the cast, or introduce new props while trying to describe a simple action.
Specify who speaks, who listens, and what supporting characters do. Background activity can feel natural without everyone turning toward the camera together. Independent tasks, small reactions, and believable attention help a scene feel occupied rather than synchronized.
Treat artwork, screens, and reflections deliberately. If an image is meant to remain a static print, say so, but also recognize that an instruction alone cannot guarantee preservation. Review the output and choose a production workaround when the tool continues to reinterpret the asset.
Direct the ending as carefully as the opening. State where the character stops, which way the body faces, where the hands rest, and what the camera sees. Those details become the starting conditions for the next clip.
Solve Transitions Before Producing the Whole Sequence
A transition is a relationship between two shots. It cannot be judged fully by looking at only one of them. Place an early pair on a timeline and watch the join before producing the remaining scenes around the same assumption.
Compare position, direction, scale, lighting, and the visible objects. If the first scene ends at one workstation and the next opens at another, the viewer may feel a jump even when both shots are individually polished.
You can choose different transition approaches. A matched position can support apparent continuity. A deliberate cut to a closer detail can communicate a change in viewpoint. A full-screen work example can bridge separate locations when it serves the story.
Avoid treating a transition effect as a substitute for a believable sequence. A dissolve can soften a change, but it does not explain why an object appeared or why the character reversed direction. Fix the story logic first, then choose the edit treatment.
Design Screen Content as Part of the Story
Computer screens should show an identifiable production task. A character reference layout, storyboard, editing timeline, or presentation grid can help viewers understand the work. Repeating the same generic image across every display usually communicates less.
Plan the screen layout before animation. Decide where the reference still appears, where the preview appears, and whether any text must be readable. Use simple interface shapes if the exact content will be added during editing.
For portfolio work, distinguish generated demonstration interfaces from real software activity or measured campaign results. The purpose is to illustrate the process honestly. Do not insert invented analytics that imply performance evidence you do not have.
Check screen content during movement. Perspective changes, occlusion, and reflections can complicate replacement. A simpler shot may be the better production choice if it makes the work legible and keeps the character’s performance believable.
Review the Voice as a Performance
A voice can be technically clear and still feel wrong for the character or offer. Listen for warmth, pace, emphasis, pronunciation, and the way one sentence connects to the next. The performance should sound like someone communicating with an audience.
A slow delivery can drain energy from an otherwise strong marketing film. A rushed delivery can make the message difficult to follow. Direct the intended rhythm in plain language and review the actual output instead of trusting the instruction alone.
Check the first and last words of every clip. A generation may begin speaking too quickly or cut off the ending. Leave a small natural opening beat when needed, while keeping the overall scene purposeful.
Across the film, compare vocal character and loudness. A sudden drop in dialogue level can distract more than a minor visual change. Preserve the approved voice direction and review adjacent clips together so the viewer hears one coherent presentation.
Shape Music Around the Message
Music supports the film’s energy, but dialogue needs to remain understandable. When a project includes speech, I think about the music’s role before simply placing a track underneath the entire timeline.
Choose an emotional direction that matches the story. A confident service introduction may need momentum without theatrical drama. A character film may have room for a more cinematic arrangement. The track should reinforce the intended feeling rather than compete for attention.
During editing, reduce music beneath speech and check transitions between spoken sections. Listen for moments when a strong musical accent lands on an important word. Adjust the edit or level so the audience can follow the message comfortably.
Review on ordinary speakers and a phone, not only headphones. A mix that feels balanced in one listening setup can behave differently elsewhere. The practical test is whether the message remains clear in the situations where people are likely to watch.
Keep Versions and Decisions Together
A filename should tell you what the file is without opening it. Include the project, scene, purpose, and version. Separate starting stills, generated clips, edited sequences, and final exports so similar files do not create confusion.
Keep an approval record. A simple note can identify the selected take, the successful prompt, the remaining issue, and the next action. That is more useful than a folder full of files marked “final” with no explanation.
Preserve what works. If the cast, camera direction, and background behavior are approved, change only the element that failed. Rewriting the entire production architecture can undo several solved problems while attempting to correct one.
Back up the project materials you would need to reproduce the work: scripts, prompts, approved references, audio, source clips, editing files where available, and final exports. A finished video is valuable; the information behind it is valuable too.
Run a Frame-by-Frame Quality Check
Watch as a Viewer First
Watch the completed sequence first as a viewer, without stopping. Does the story make sense? Is the message clear? Does the pacing hold attention? Write down the moments that feel confusing before looking for small technical defects.
Inspect Visual Continuity
Then review more closely. Check faces, hands, wardrobe, object placement, screen behavior, and background activity. Look for details that appear unexpectedly, including accessories or furniture that were not part of the approved scene.
Listen Without the Visuals
Listen separately when useful. Audio-only playback can reveal awkward pauses, changes in voice, clipped words, or music that competes with speech. A strong visual can temporarily distract from those problems during an ordinary viewing.
Check the Final Export
Finally, check the exported file rather than only the editing timeline. Play it on the intended devices and confirm the ending. Export is a production stage with its own verification, especially when the film will represent your business or become part of a portfolio.
Know When to Change the Method
Repeated failures are information. If a tool keeps distorting framed artwork, adding objects, or changing a character during movement, the answer may be a simpler composition, a separate overlay, or a more deliberate cut.
That decision is part of directing. It protects the production budget and keeps the project moving. A clear, well-finished scene is more useful than an elaborate sequence that never becomes reliable enough to publish.
AI-assisted filmmaking brings together writing, visual identity, performance direction, scene planning, sound, editing, and quality control. The generation is one stage inside that larger process. The creative responsibility remains with the person making the decisions.
If your business needs a character-led introduction, a campaign film, or a clear demonstration of an idea, begin with the message and the production plan. Explore my work and send a project brief. We can build a film that connects its visual ambition with a clear communication goal.